|
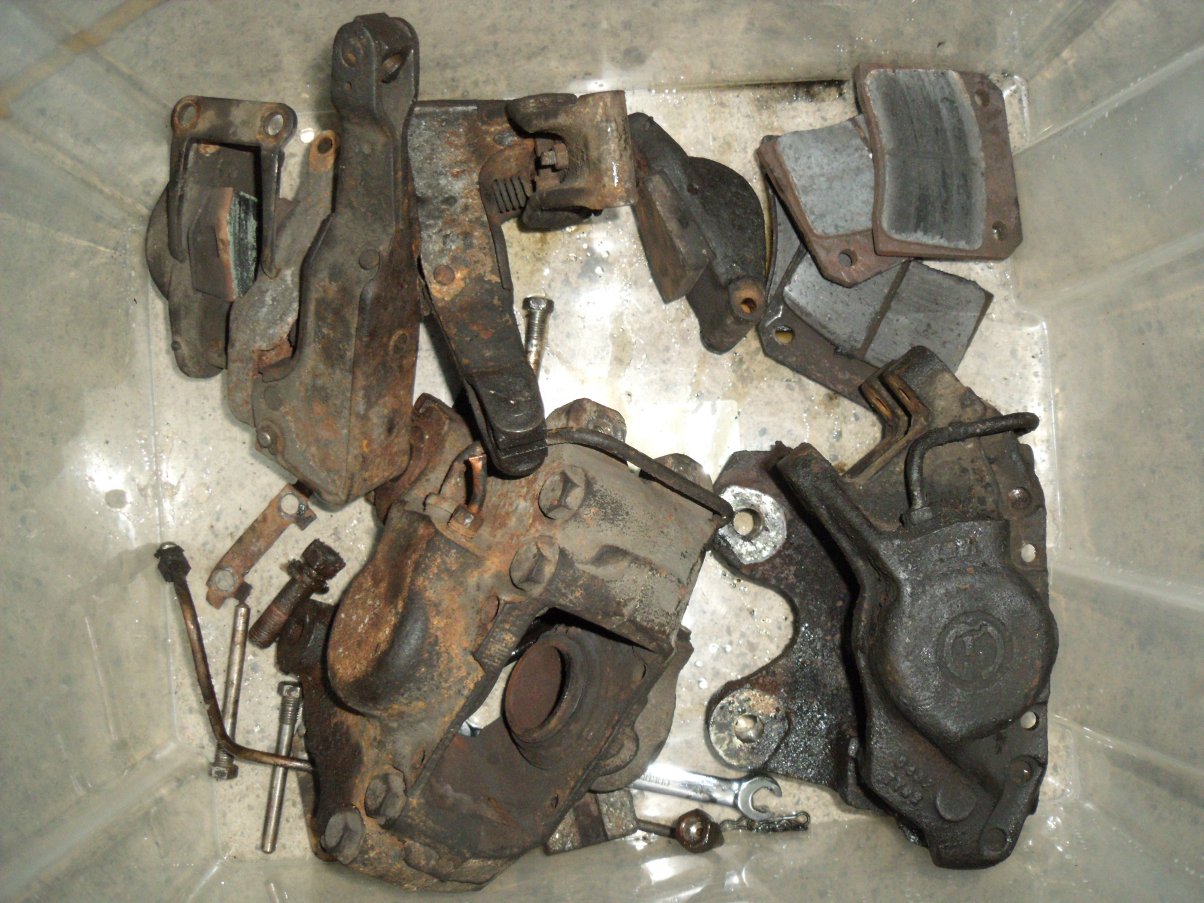
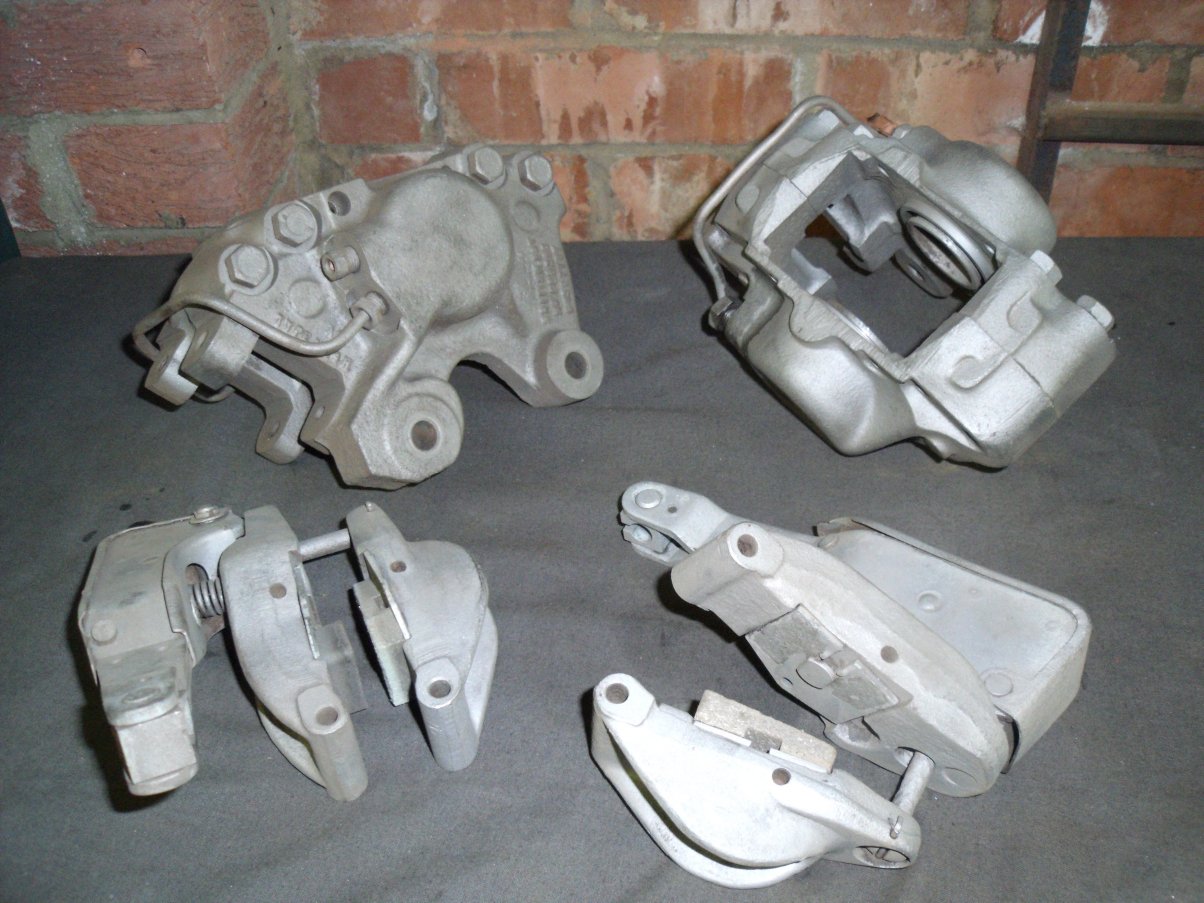
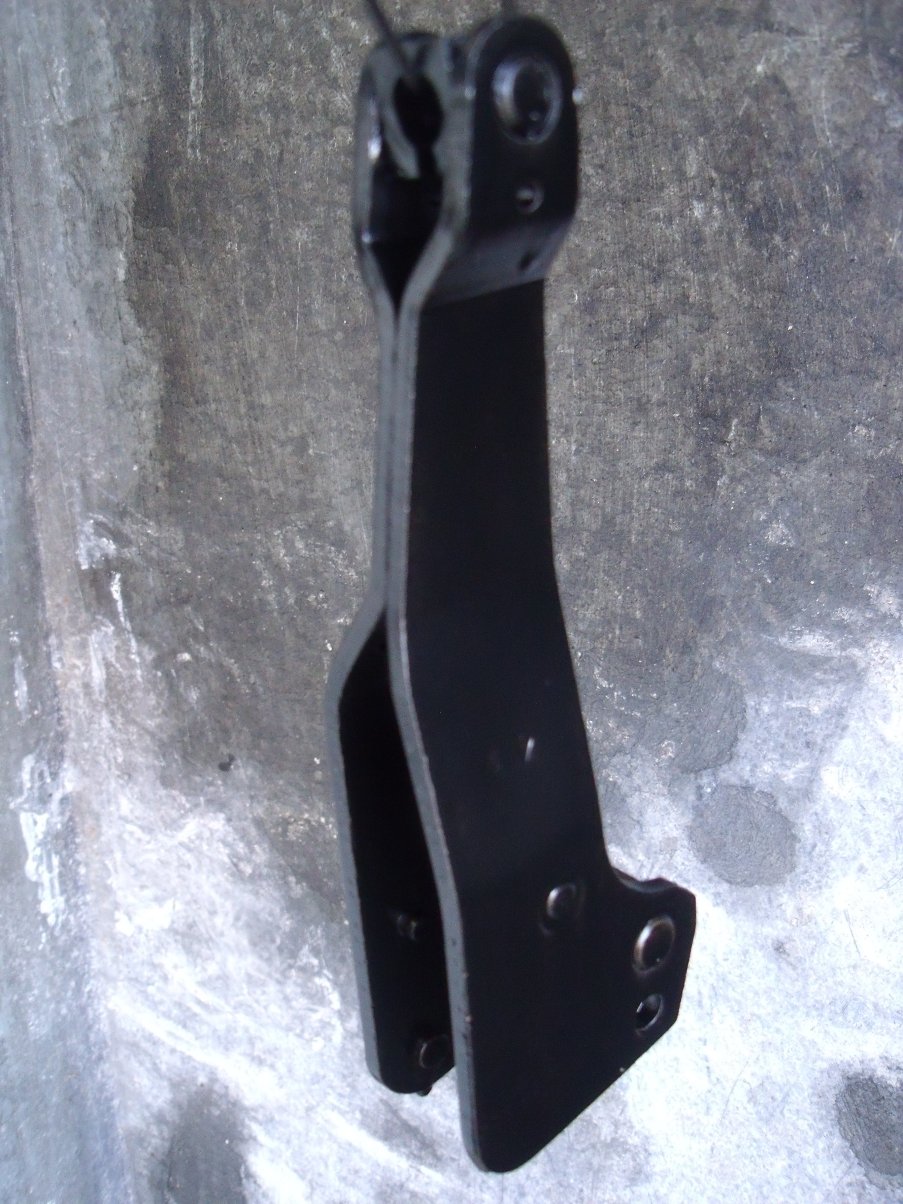
Rear Brake Caliper Overhaul Tucked away up amongst the chassis rails, it's easy to overlook the rear brakes. They weren't easy to get at in their original home at the back of a Jaguar and TVR didn't exactly improve matters! One day, as black smoke belched from the rear wheelarches and I found the only way to stop was to pump the brakes frantically, the realisation dawned that ten years of neglect had caught up with me as there was obviously something sticking, causing one or more pads to remain in contact with the discs, thus cooking the brake fluid and removing retardation. Something would have to be done. First thing to do, then, was to extract the calipers. Unlike most modern cars where the hydraulic rear caliper doubles as the handbrake, this Girling design is a two-part system. The main, hydraulic caliper responds to the footbrake pedal as usual, but the handbrake function is provided by a separate pair of cable-operated calipers mounted on top of the hydraulic units. The whole device is so bulky it looked unlikely that either side would simply drop out through the chassis tubes so I opted to remove the handbrake calipers first. Simple enough: disconnect the cable, bend back the locking tabs, extract 4 pivot bolts and... needless to say it wasn't that simple as the pivots were largely gripped by corrosion in the castings. With the units finally removed, I snipped the lockwires on the main caliper bolts and set to work with a 5/8" spanner. The lower bolts are, relatively speaking, easy to undo, but the top ones are out of sight and obstructed by hydraulic pipes, chassis tubes etc. and take some dexterity to extract. You can't actually remove them as the differential casting is in the way; you undo them fully and then, once you've disconnected the hydraulic lines (or, as I had to, clipped them with cutters as the unions were seized-in) "simply" pop the calipers off and out through the chassis rails (read: wriggle and squirm until free!). I found the easiest access for both was to the left of the car. I now had a pile of rusty brake bits:
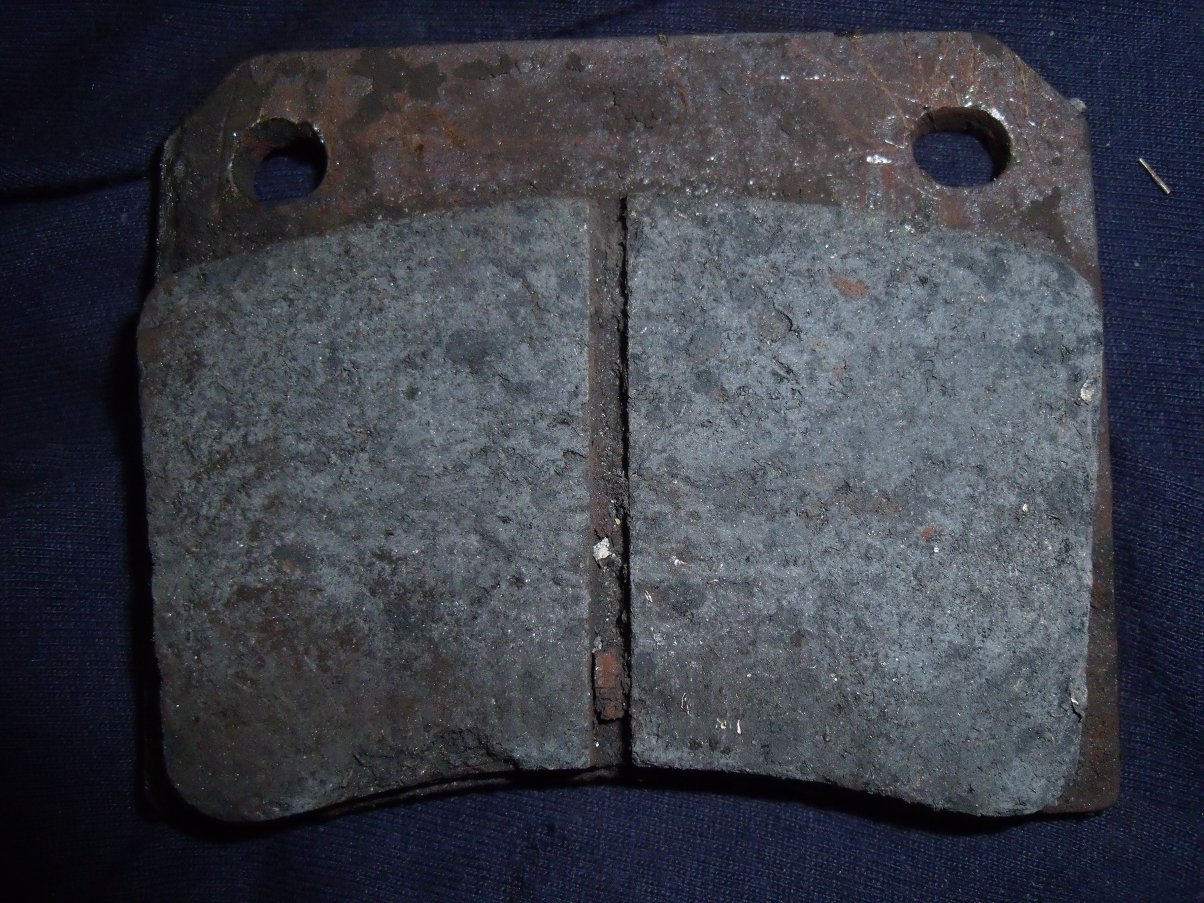
This is the pad that had caused the grief: it looks like roasted concrete.
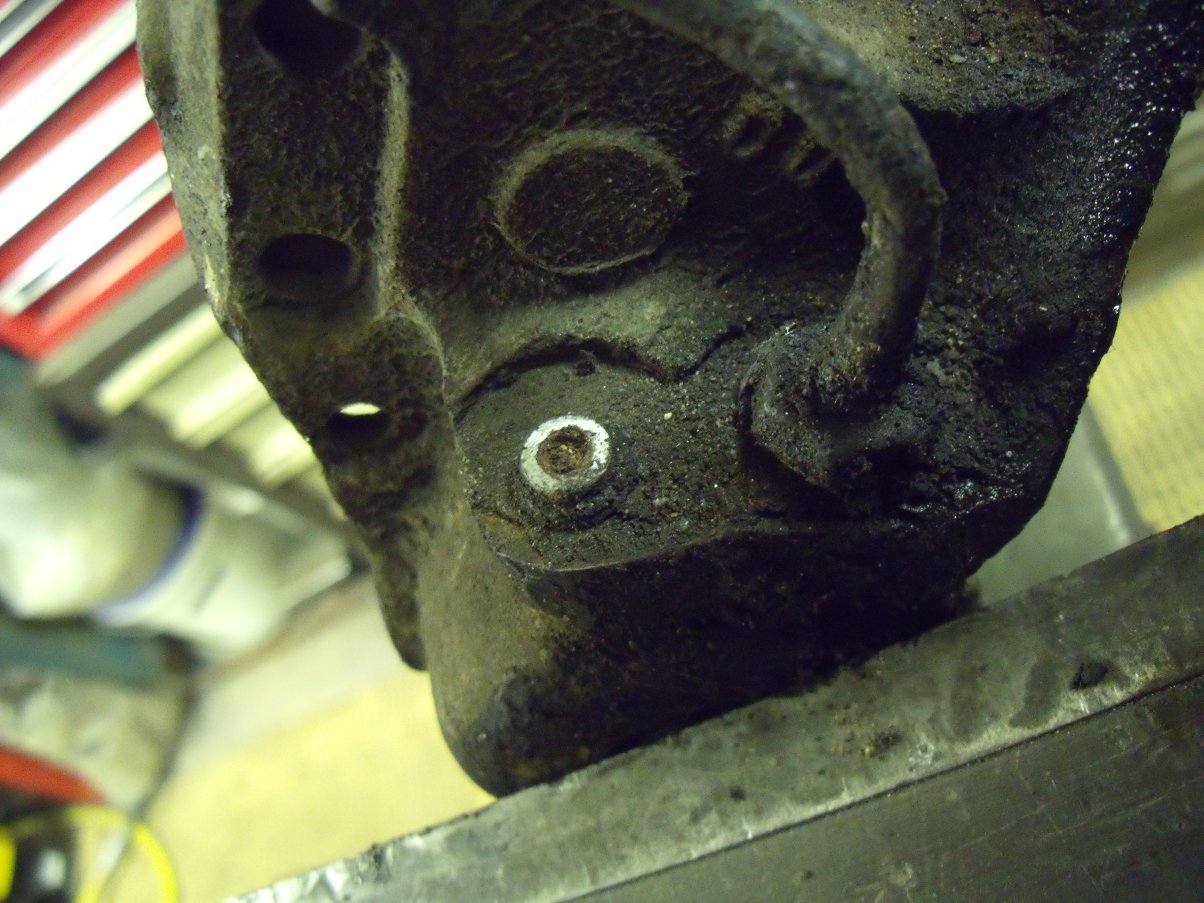
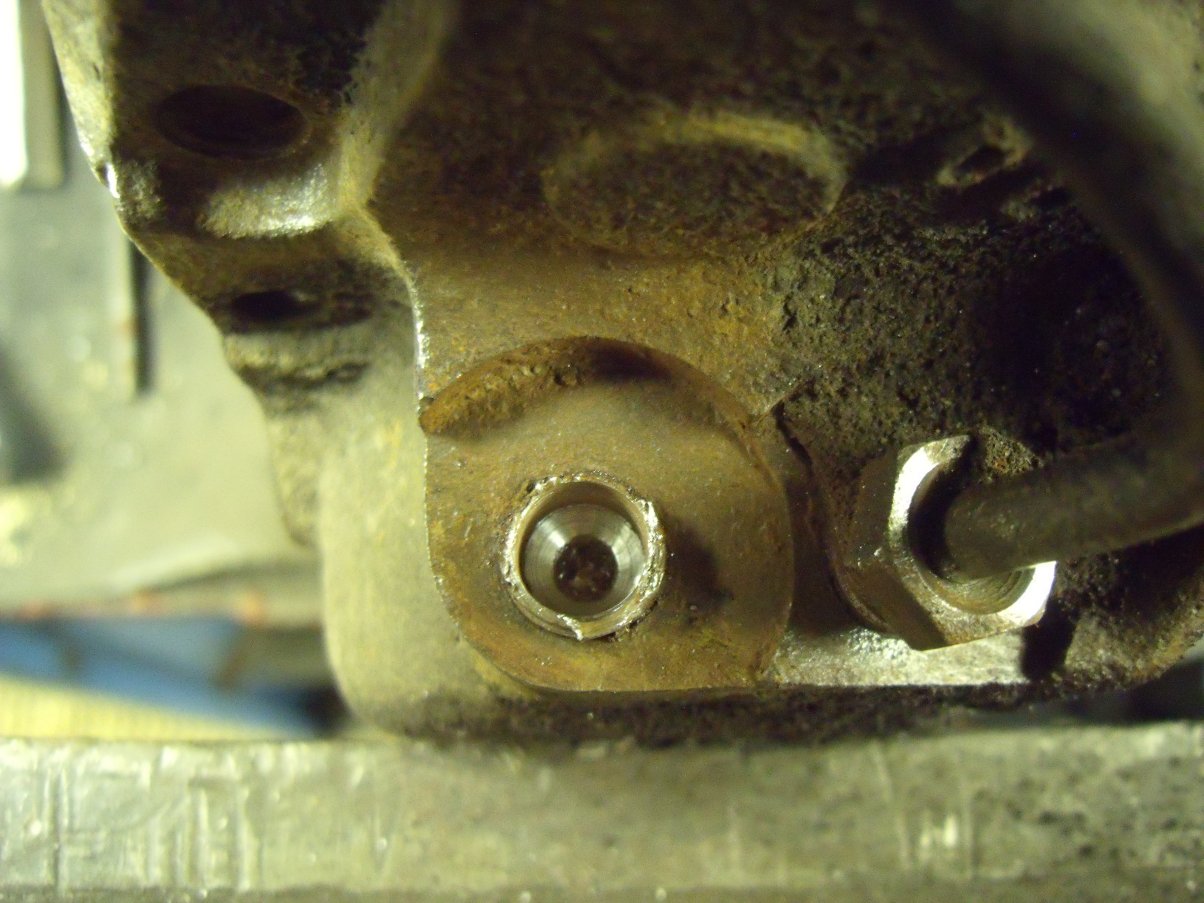
The bleed nipple decided it would rather snap than unscrew...
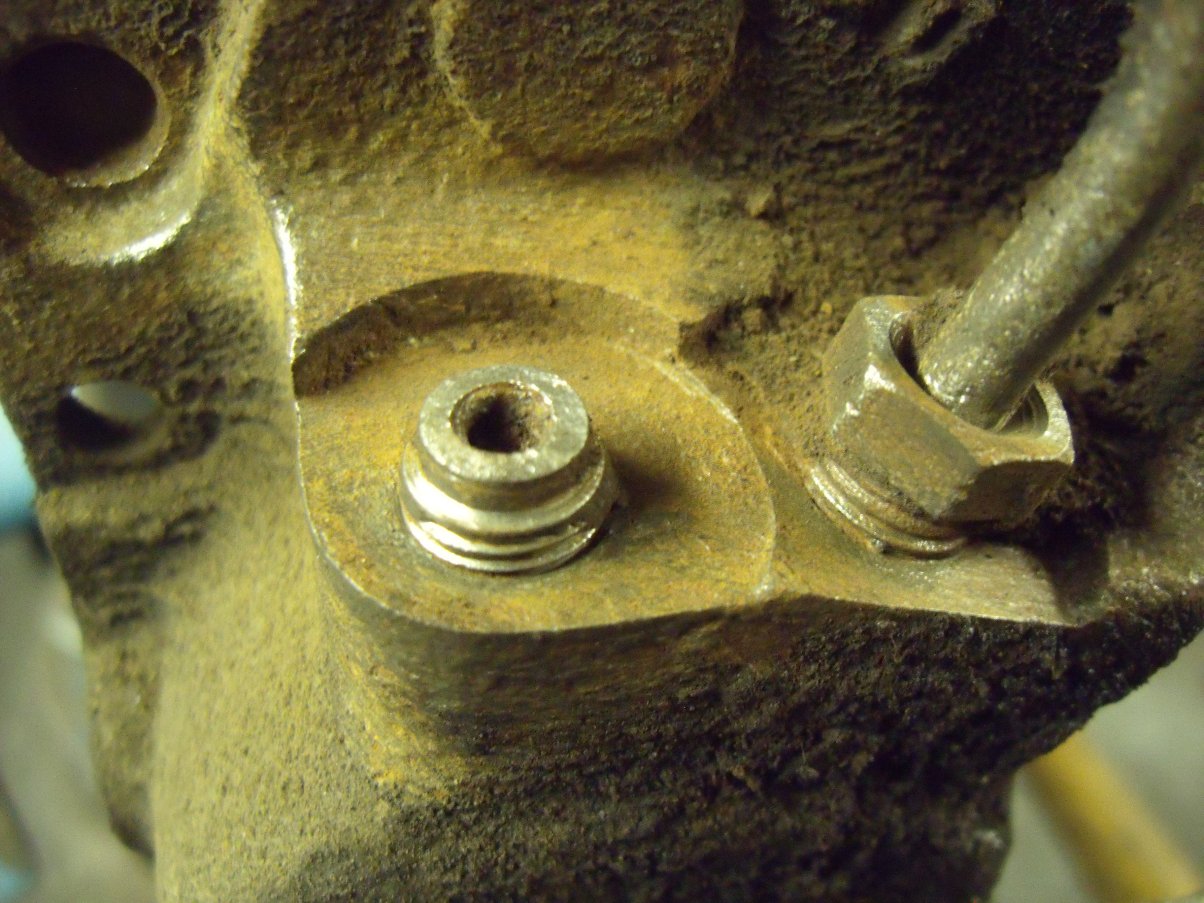
...so there didn't seem to be much point continuing unless I could get the broken nipple out. I started by wire-brushing the area clean(ish)...
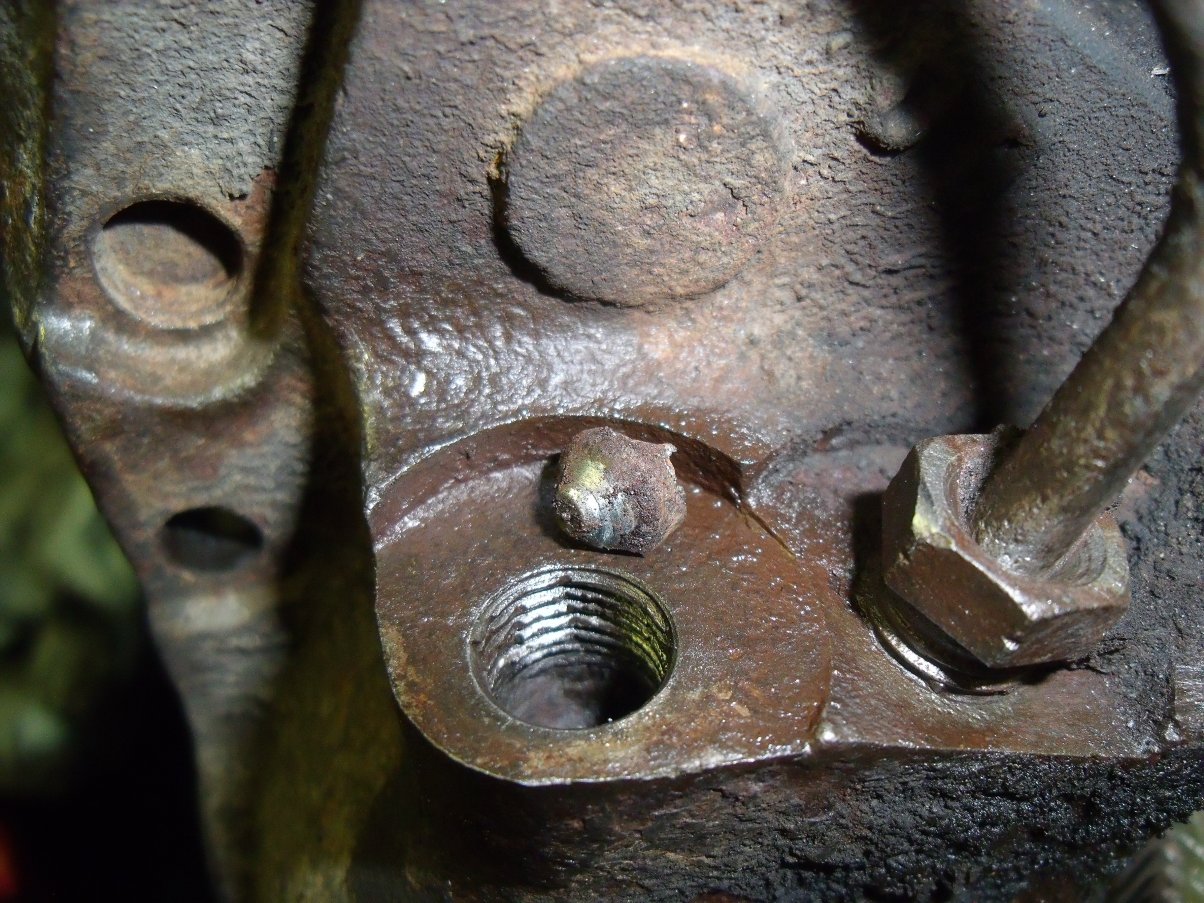
...then used successively larger drill bits to carefully remove it.
By the time I'd extracted the nipple there wasn't much of it left. The caliper thread damage looks worse than it was, the new nipple still sealed properly:
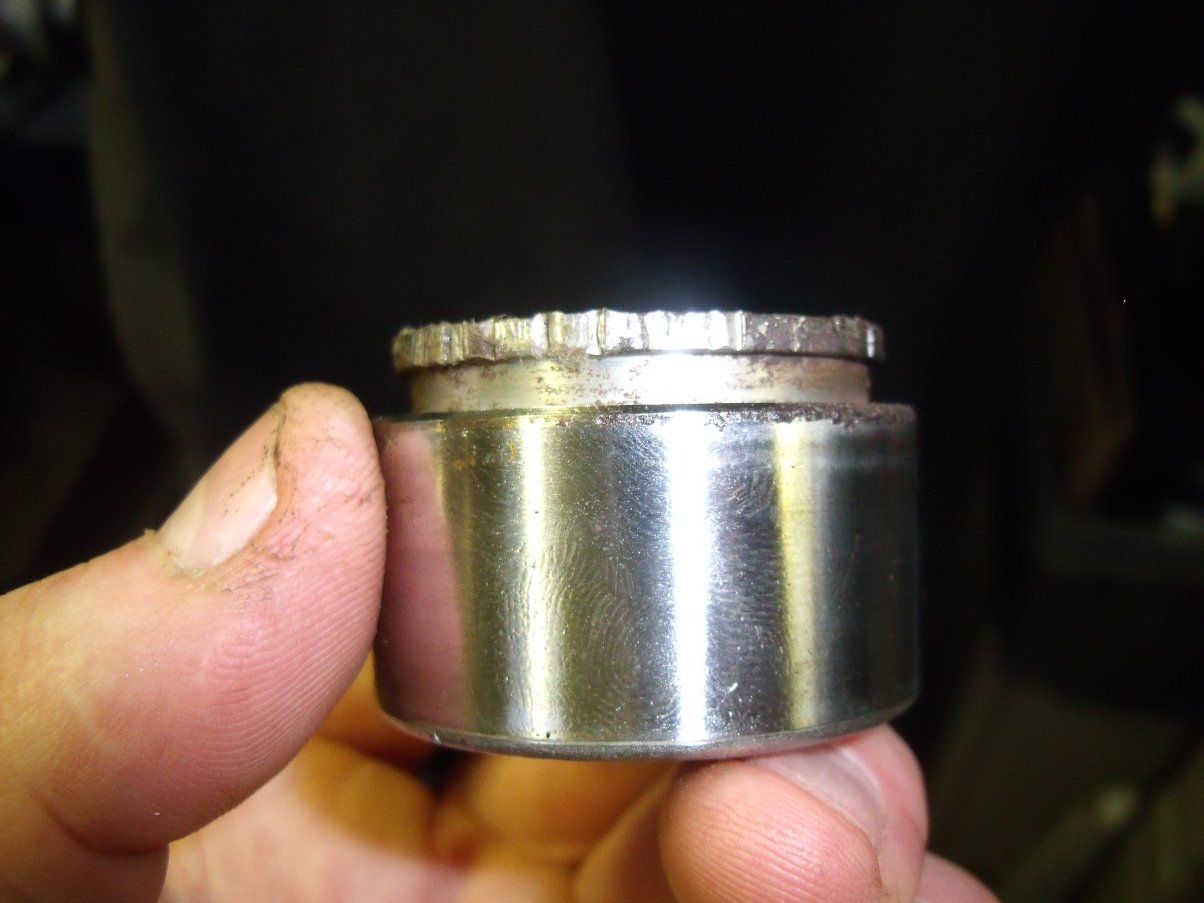
Of the four pistons, this was the worst. Doesn't look too bad, you say...
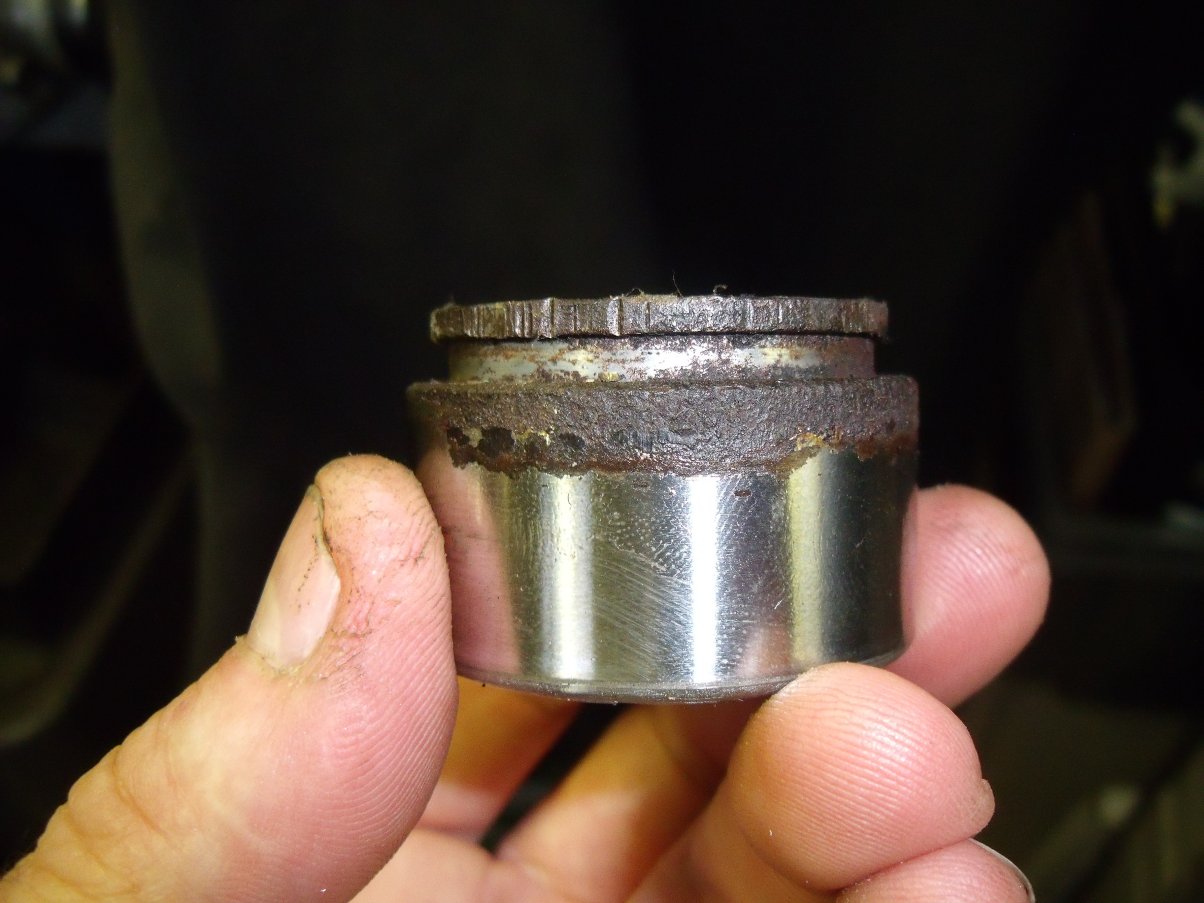
... until I turn it 180 degrees! This probably explains why it had stuck.
After a good blasting, the various parts were much nicer to handle:
As you can see above, some of the handbrake pads hadn't survived. I removed them all as new ones were on order:
...then set about further dismantling:
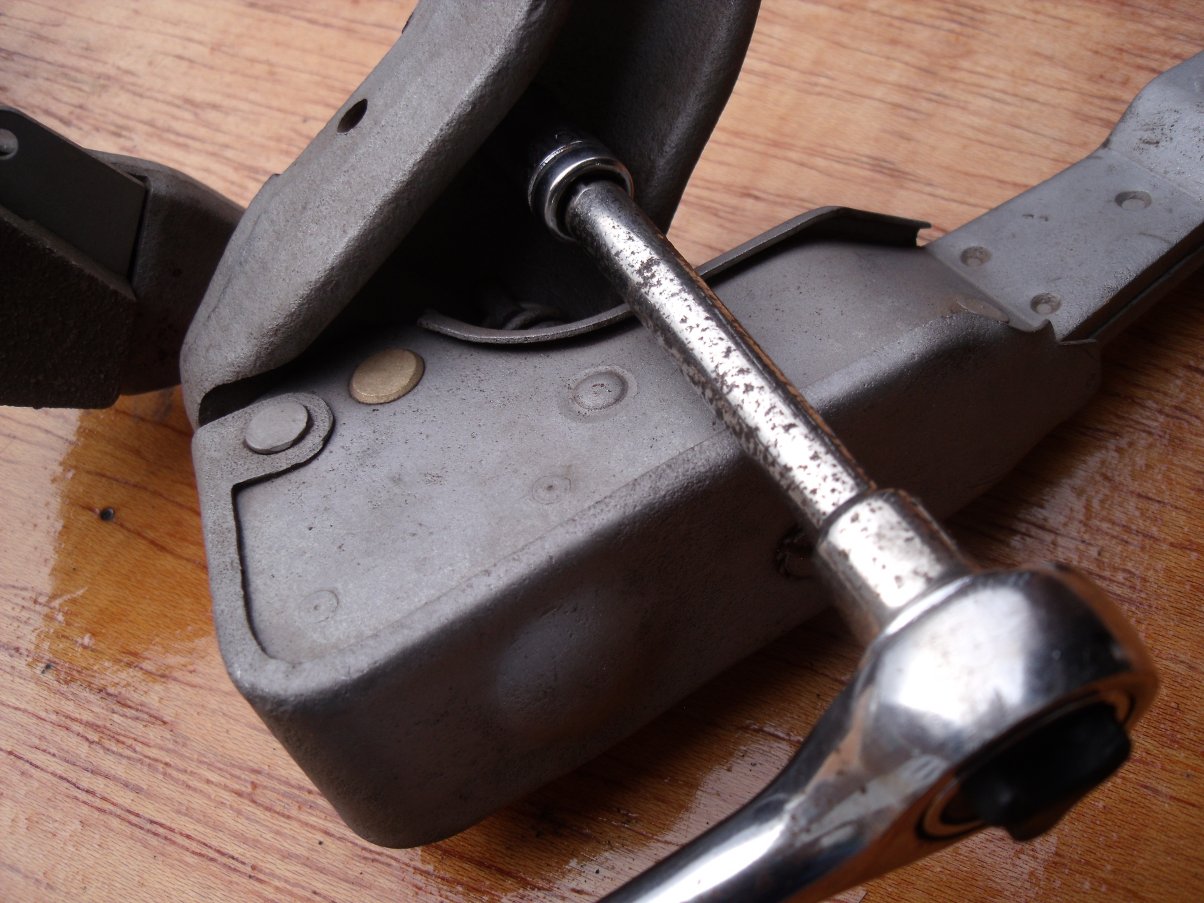
This screw secures the dust covers over the self-adjusting mechanism:
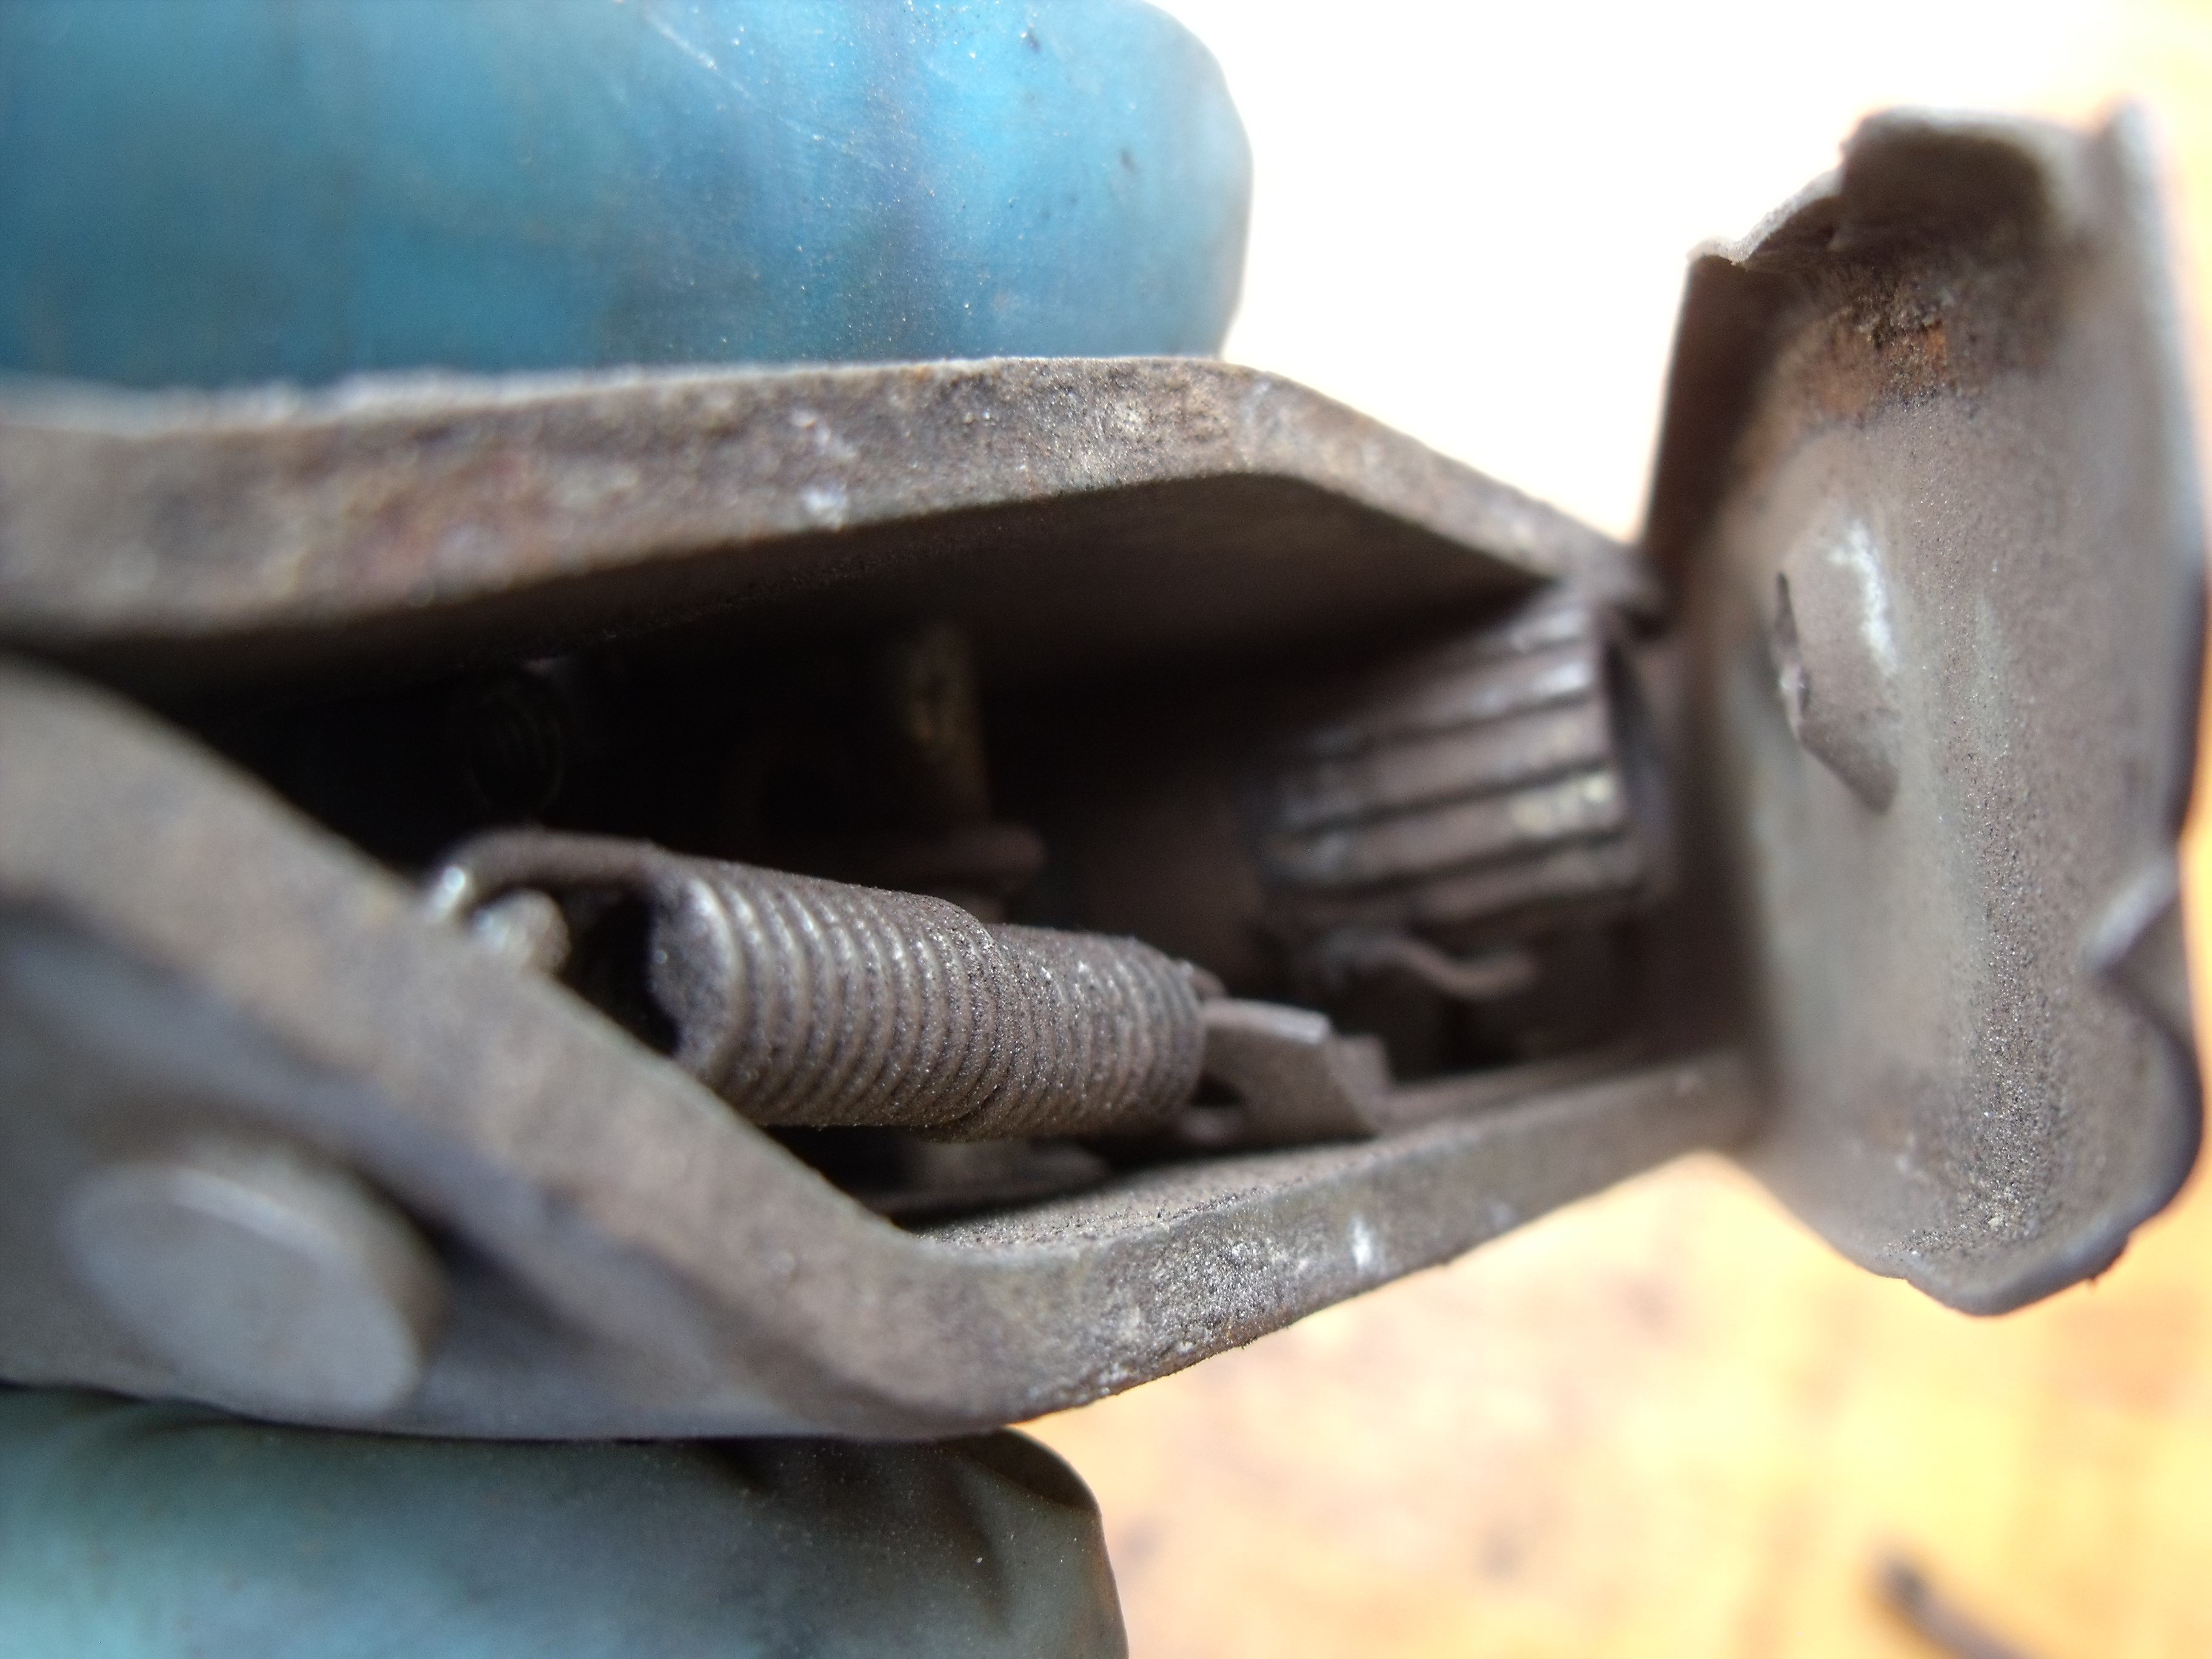
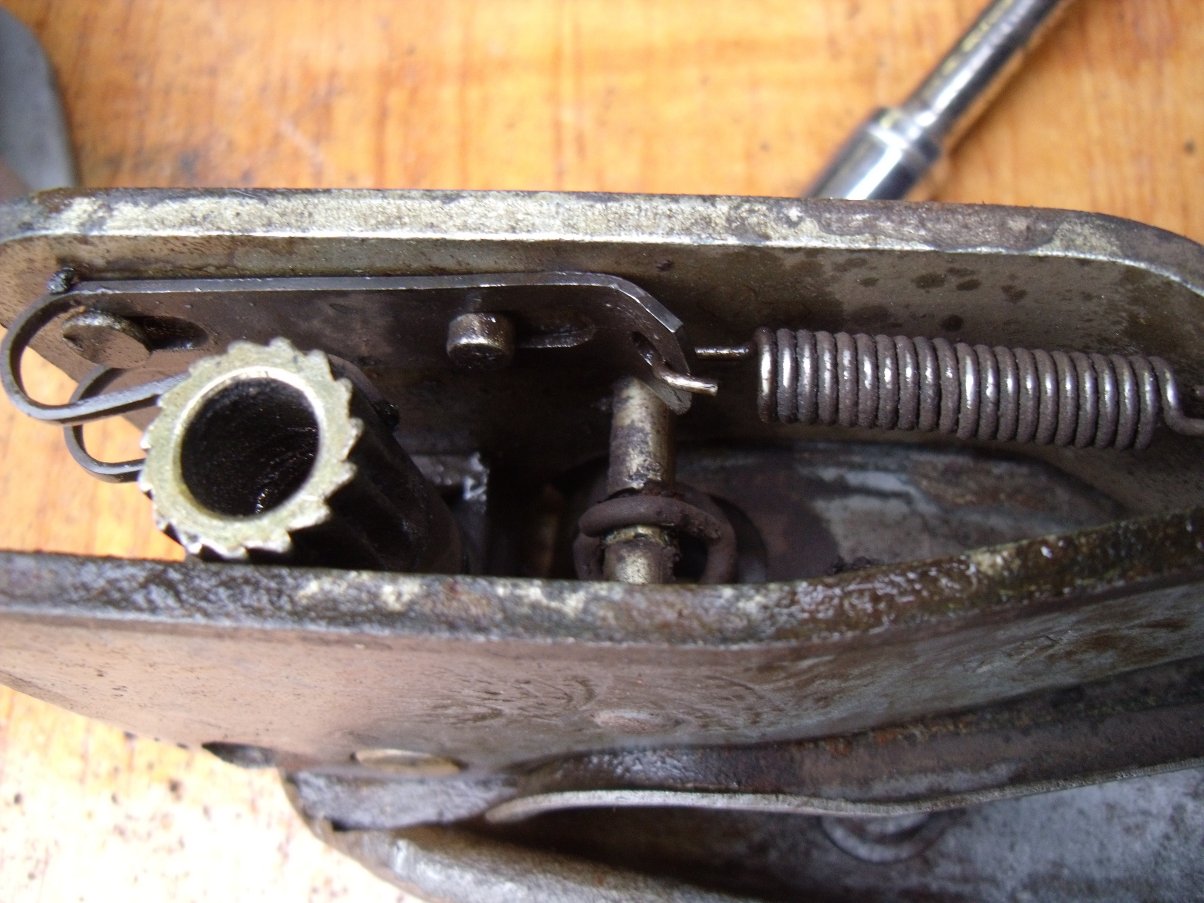
...the removal of which allows a glimpse of the working parts:
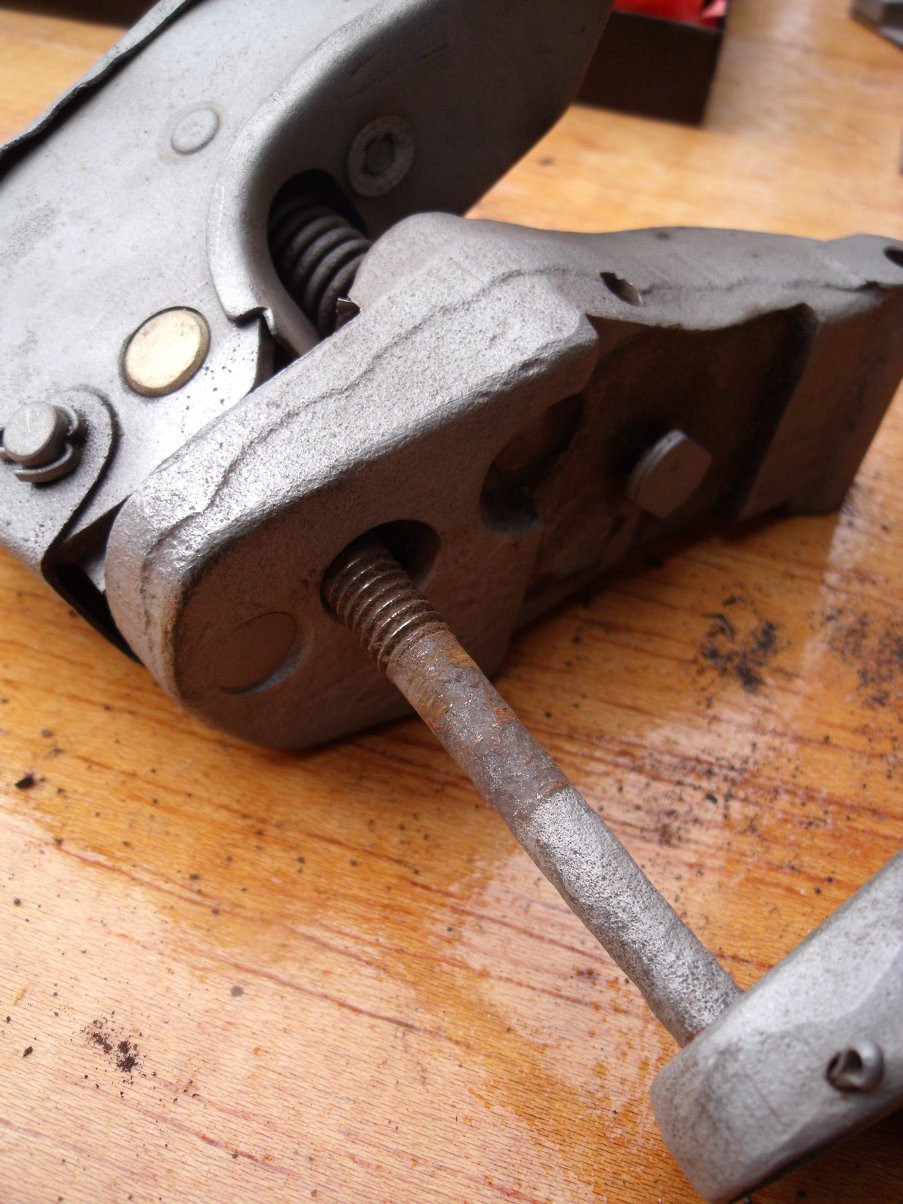
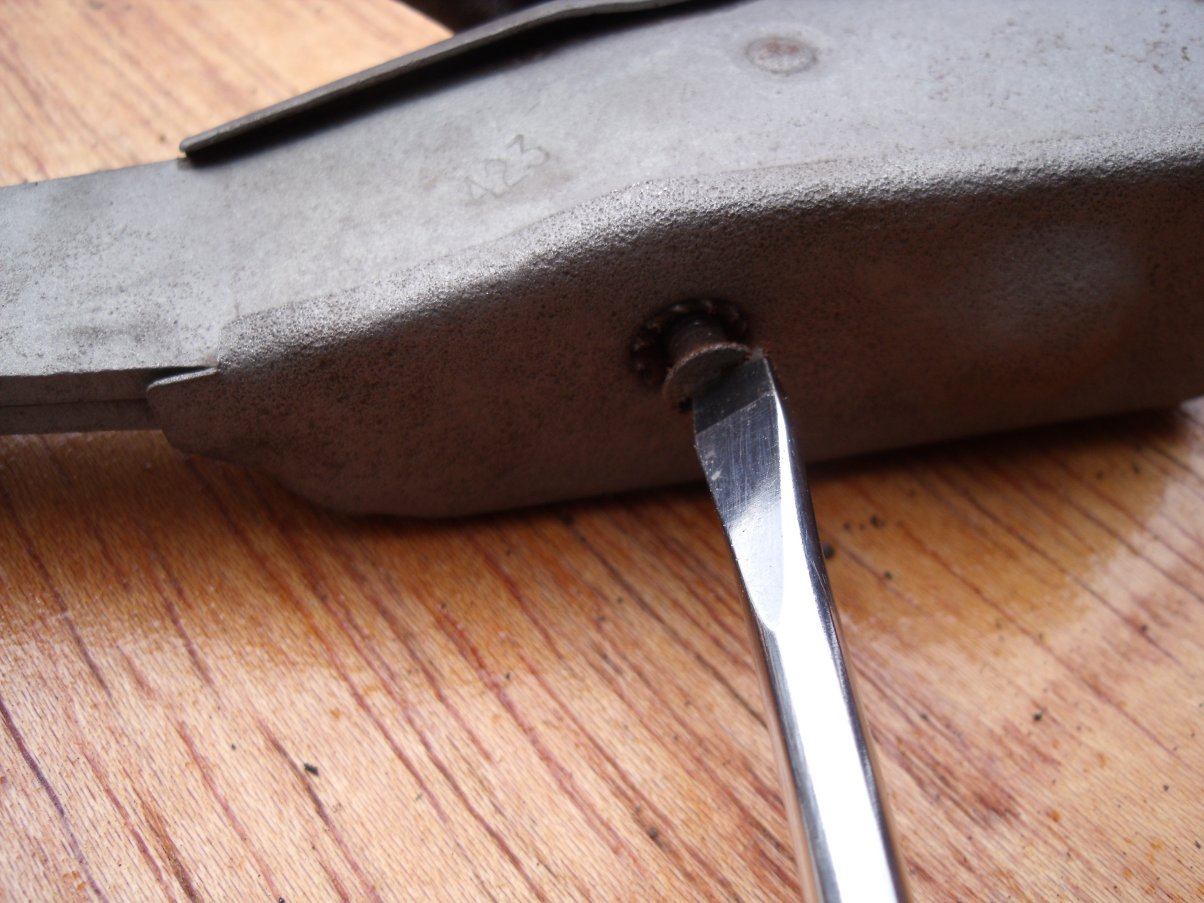
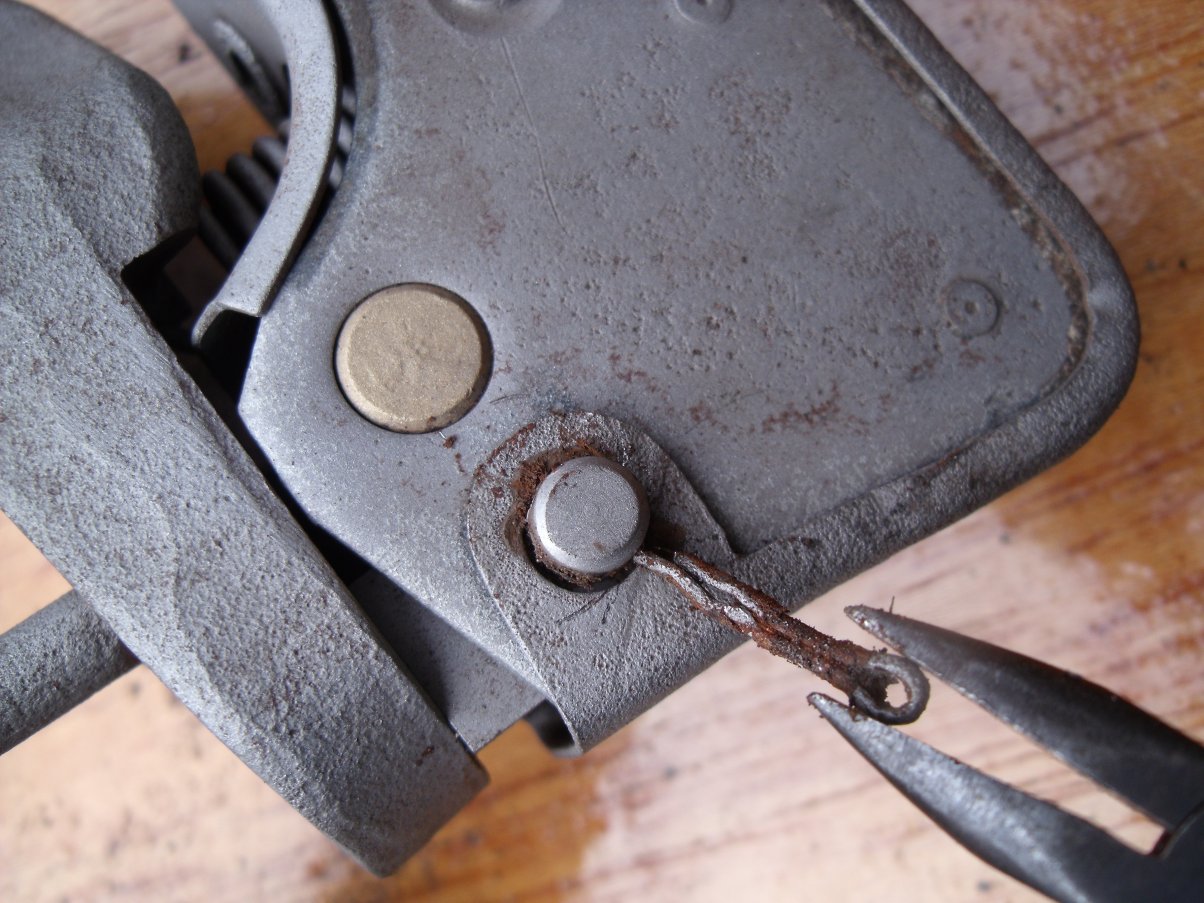
To strip further, begin by removing the small split pin that secures the pivot pin:
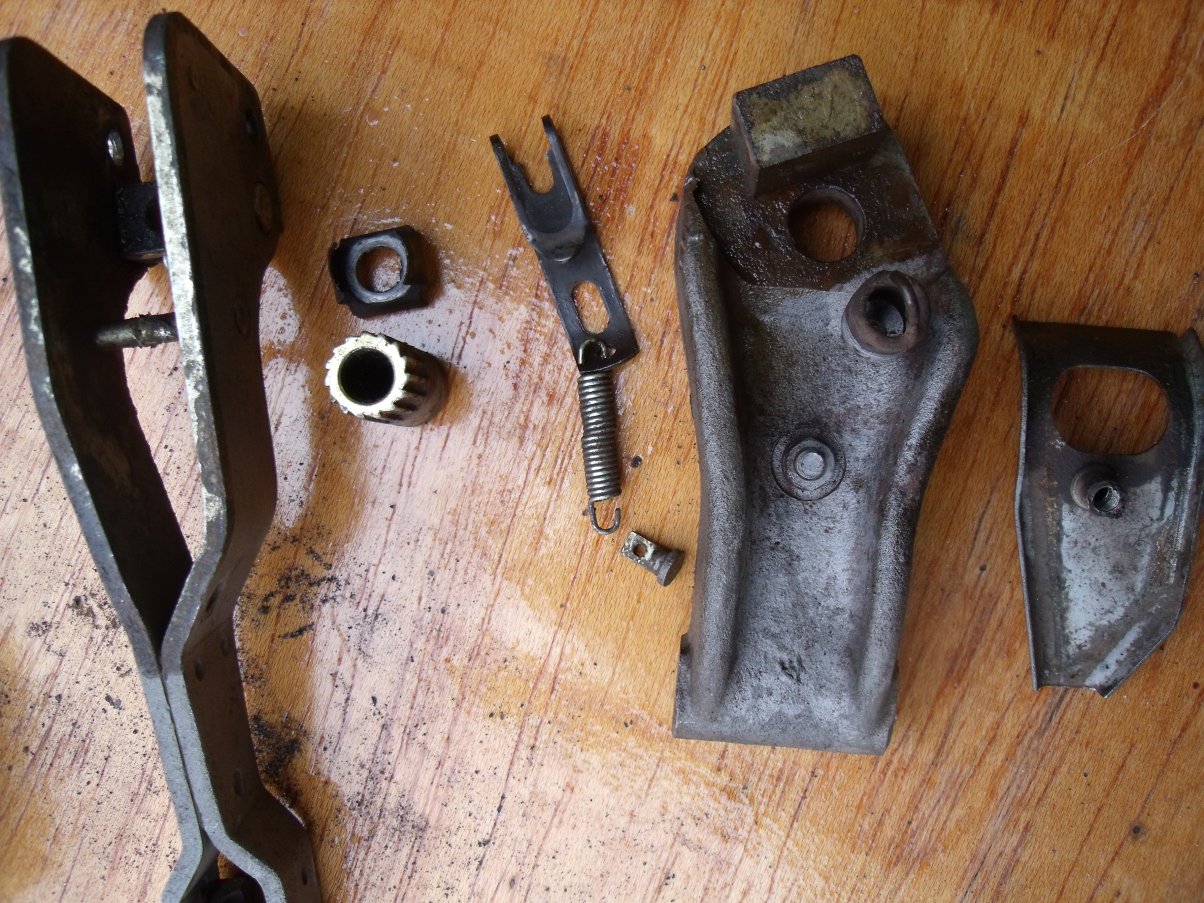
Have a good look at how the bits go together...
...before you take it all apart!
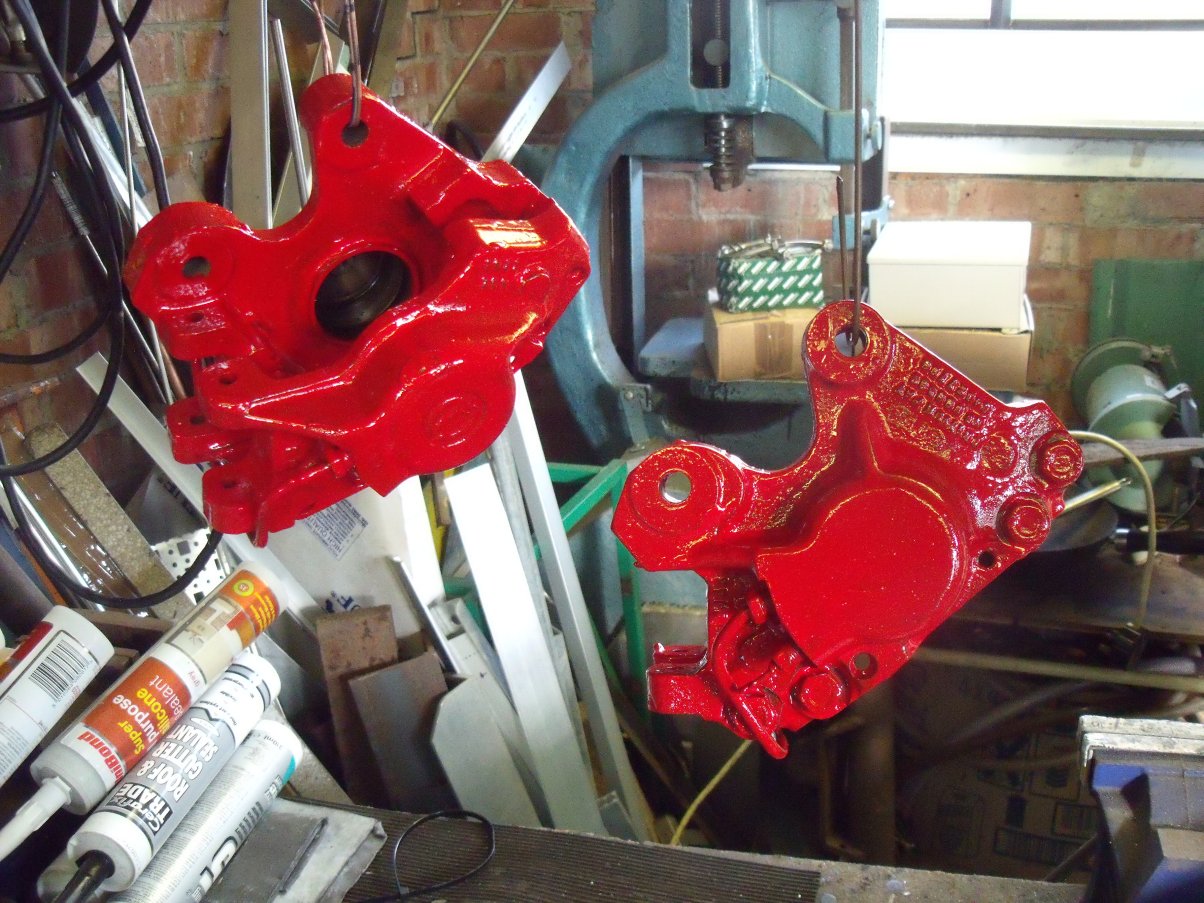
The various parts were either sprayed satin black Smoothrite...
...or brushed with Halfords brake caliper paint. I wasn't that impressed with its coverage, even after three coats. Note that pistons and seals have been removed:
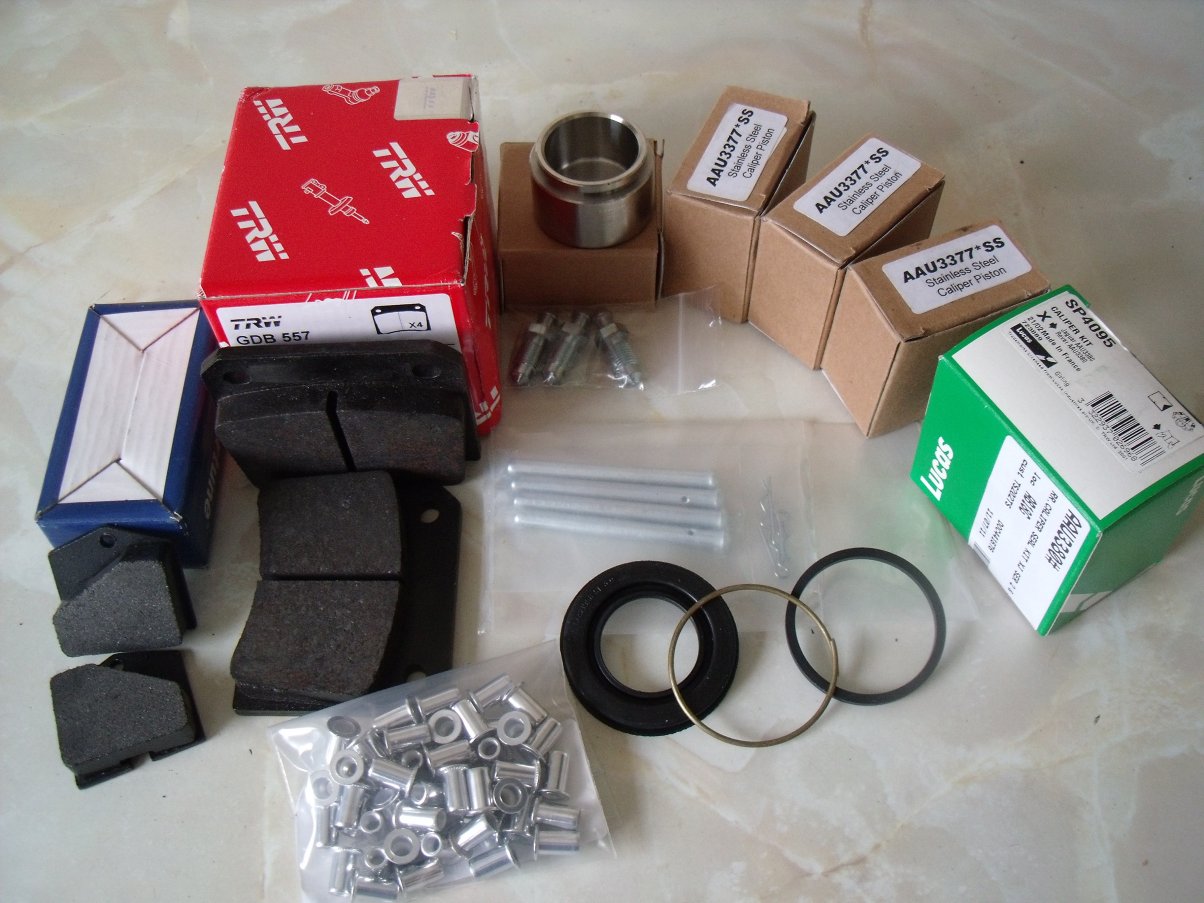
This pile represents about £140-worth of new components:
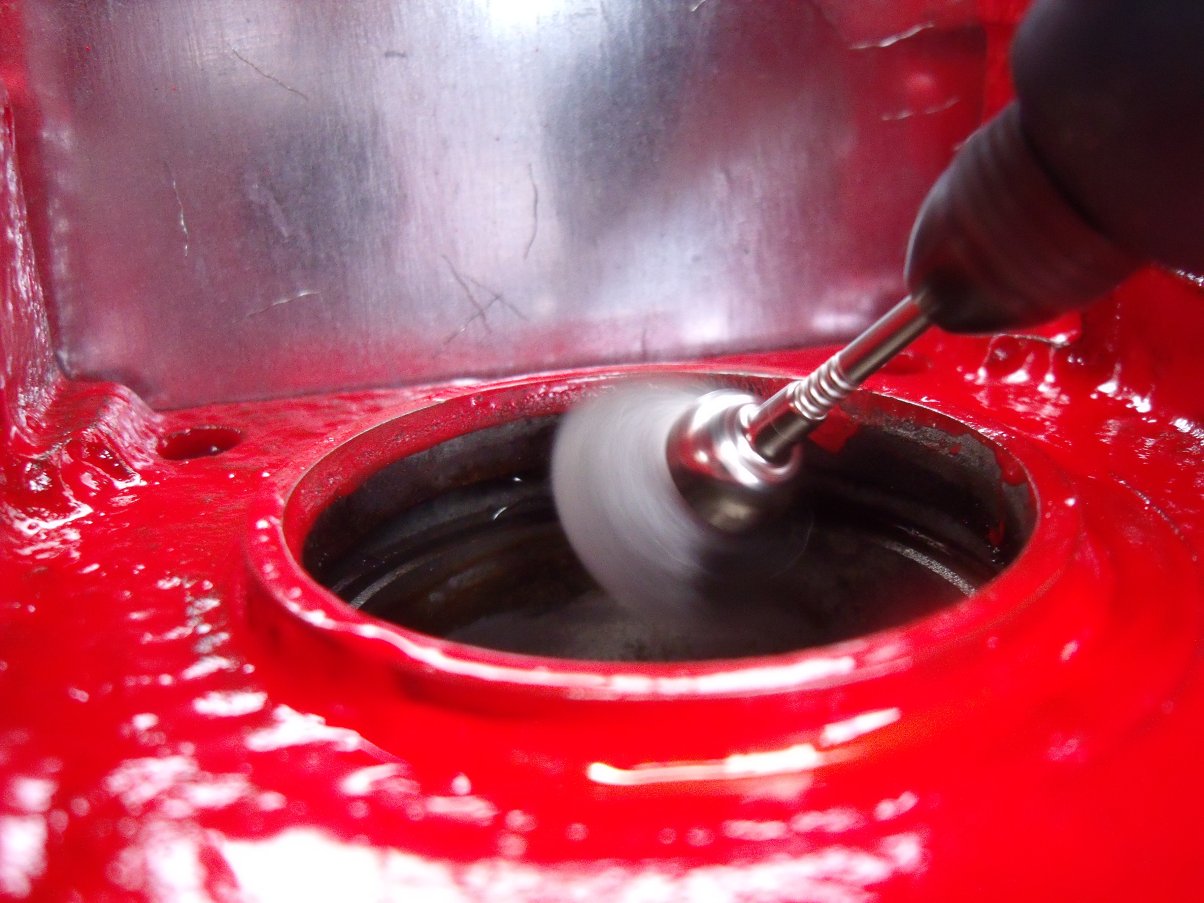
Before reassembly I used a tiny wire brush to clean off excess paint and some rust from around the cylinder bores...
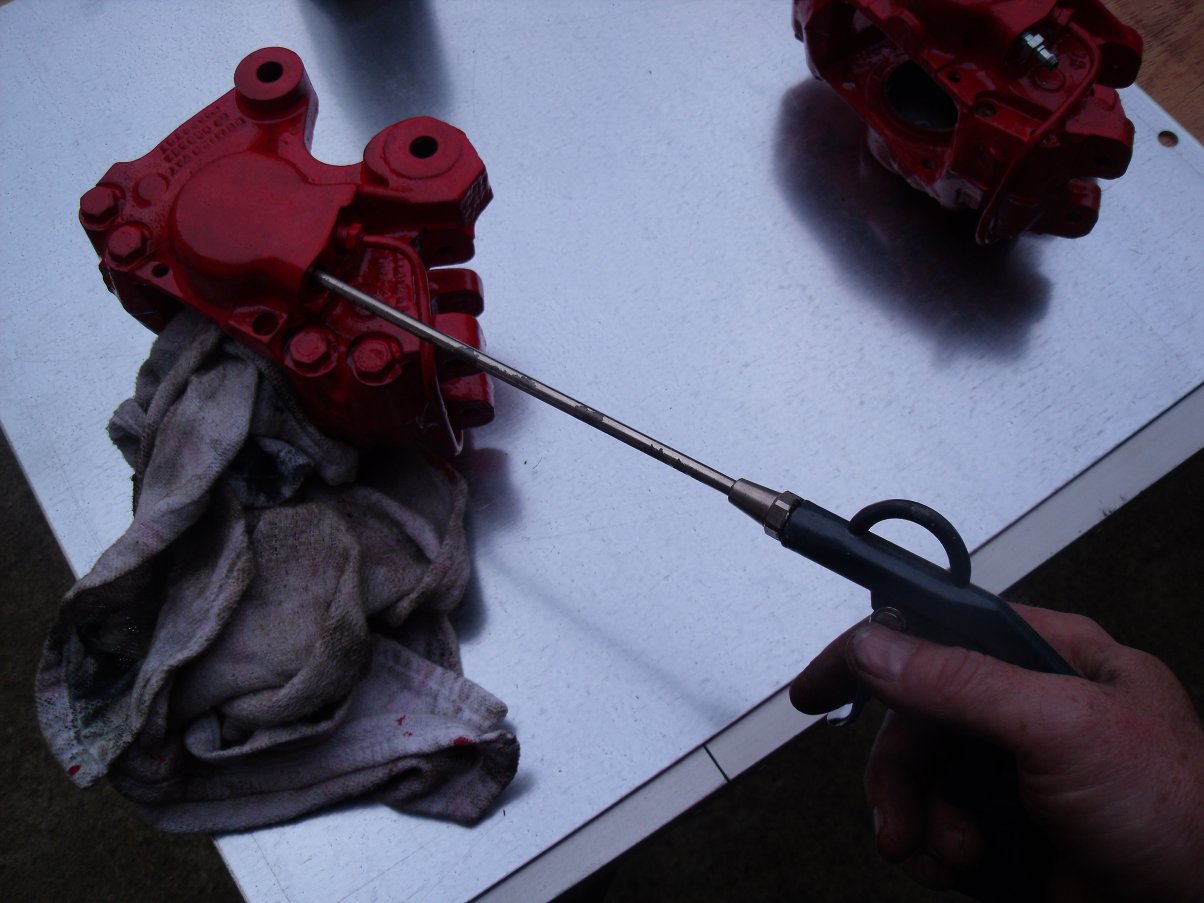
The various ports and passages were blown through with an airline:
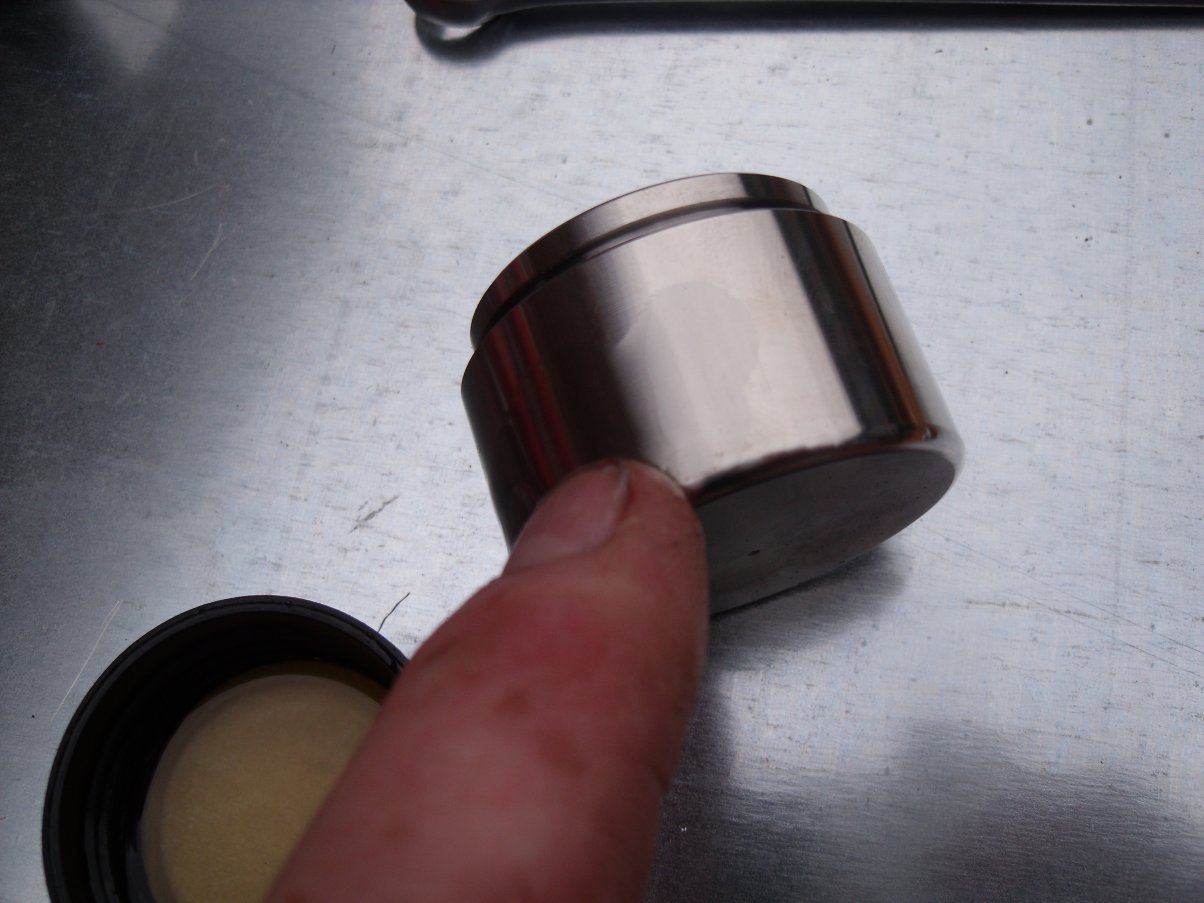
...then reassembly commenced by dunking the piston seals in clean brake fluid and working them into their grooves:
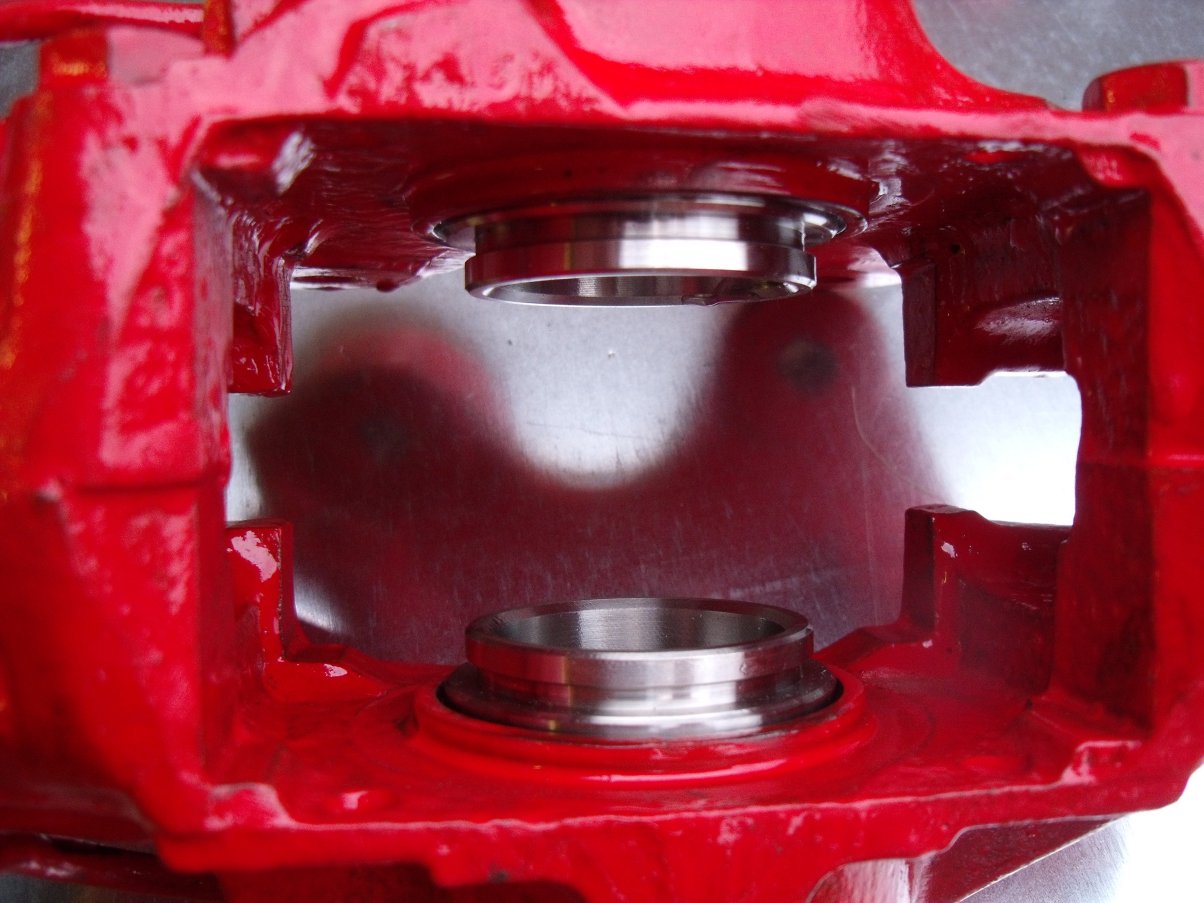
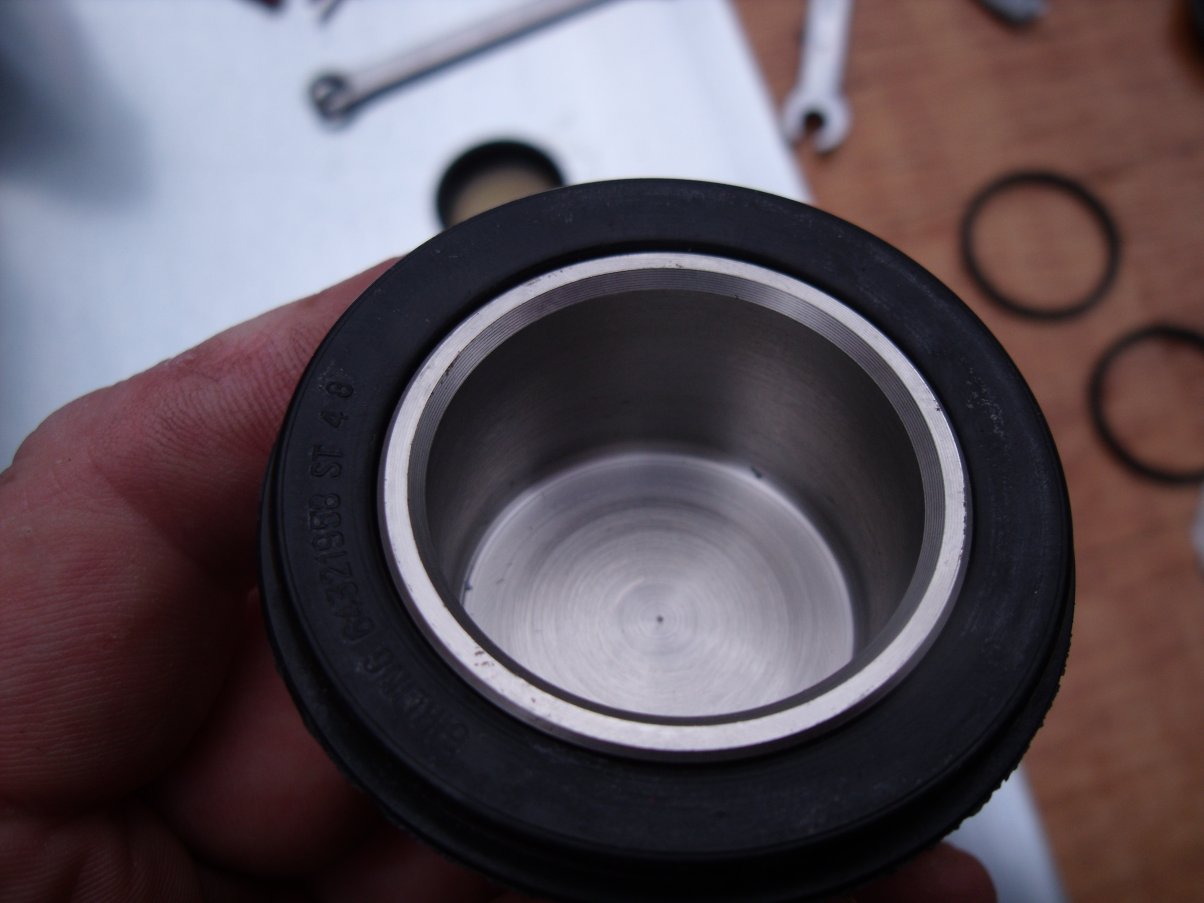
Next, the new stainless steel pistons were wetted and inserted into the cylinders:
Nice :O)
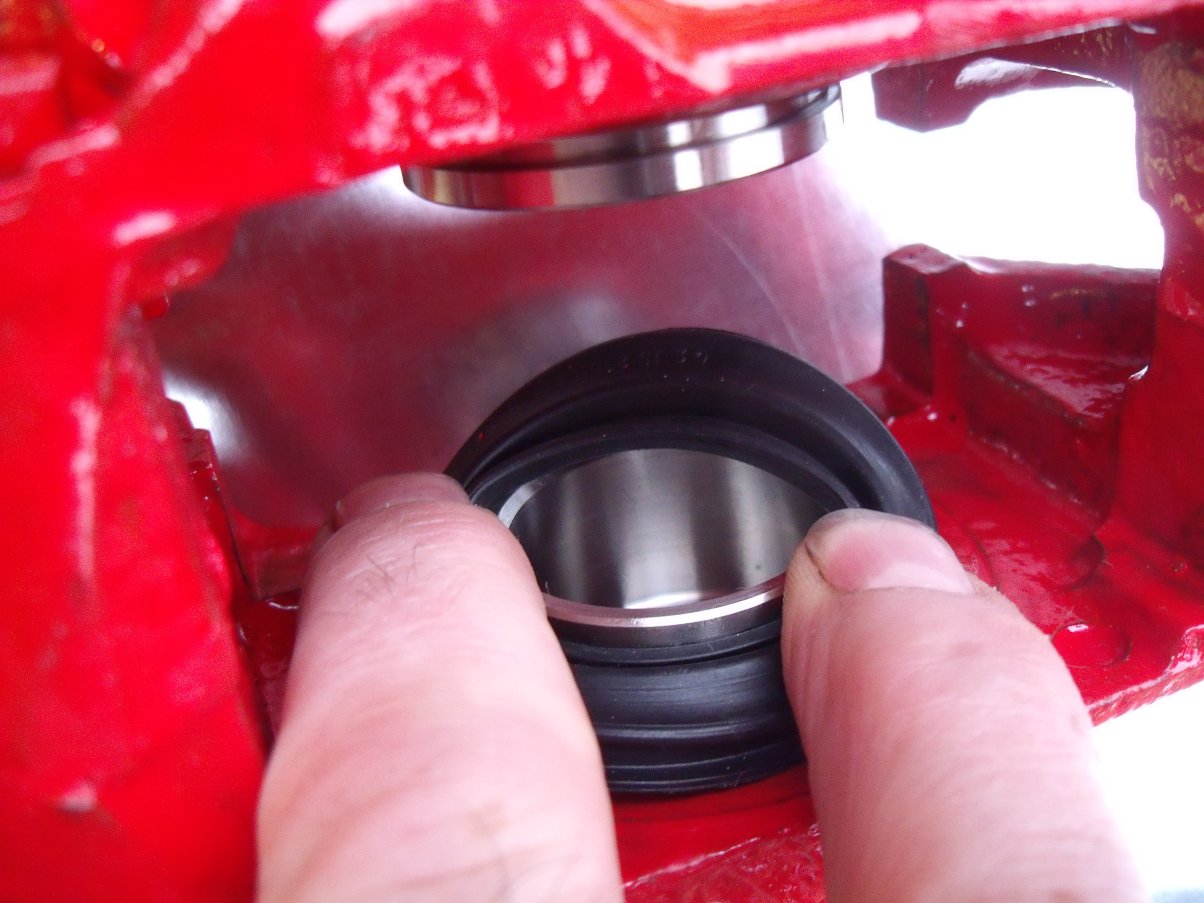
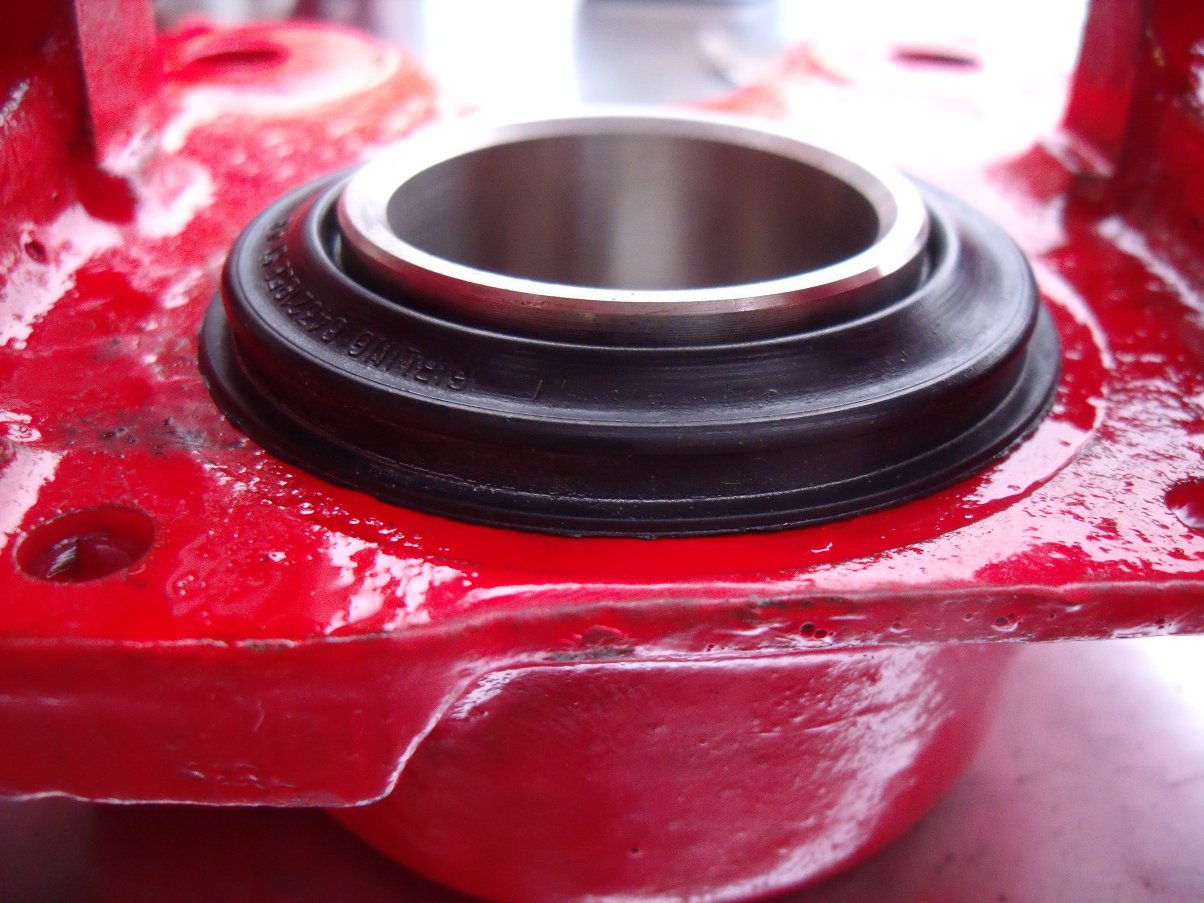
I tried fitting the dust seals in-situ but it was a bit of a struggle so I popped the pistons back out...
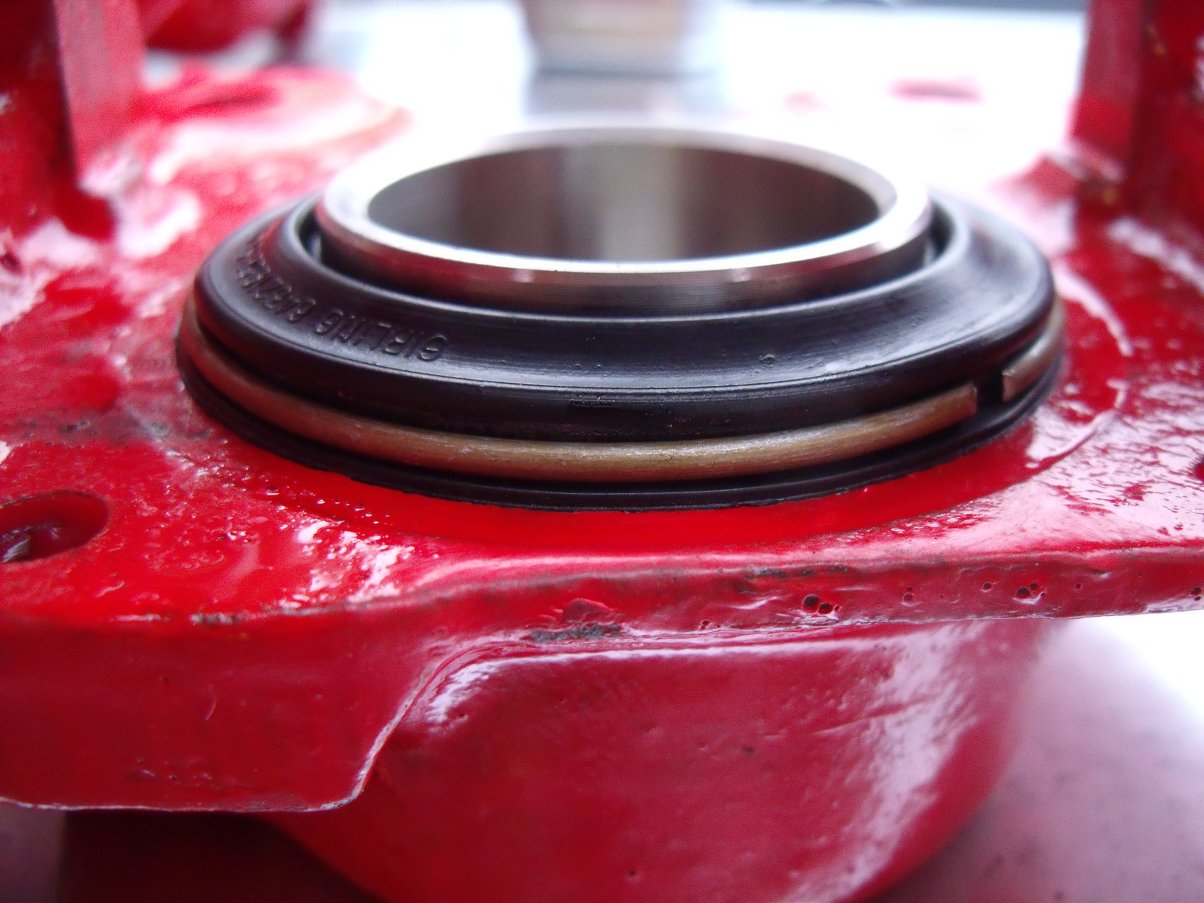
...installed the seals to the pistons, taking care to get the lip into the piston groove nice and square:
...then popped them back in again!
A simple spring wire retainer keeps the seal in place on the caliper boss (note poor Halfords paint finish):
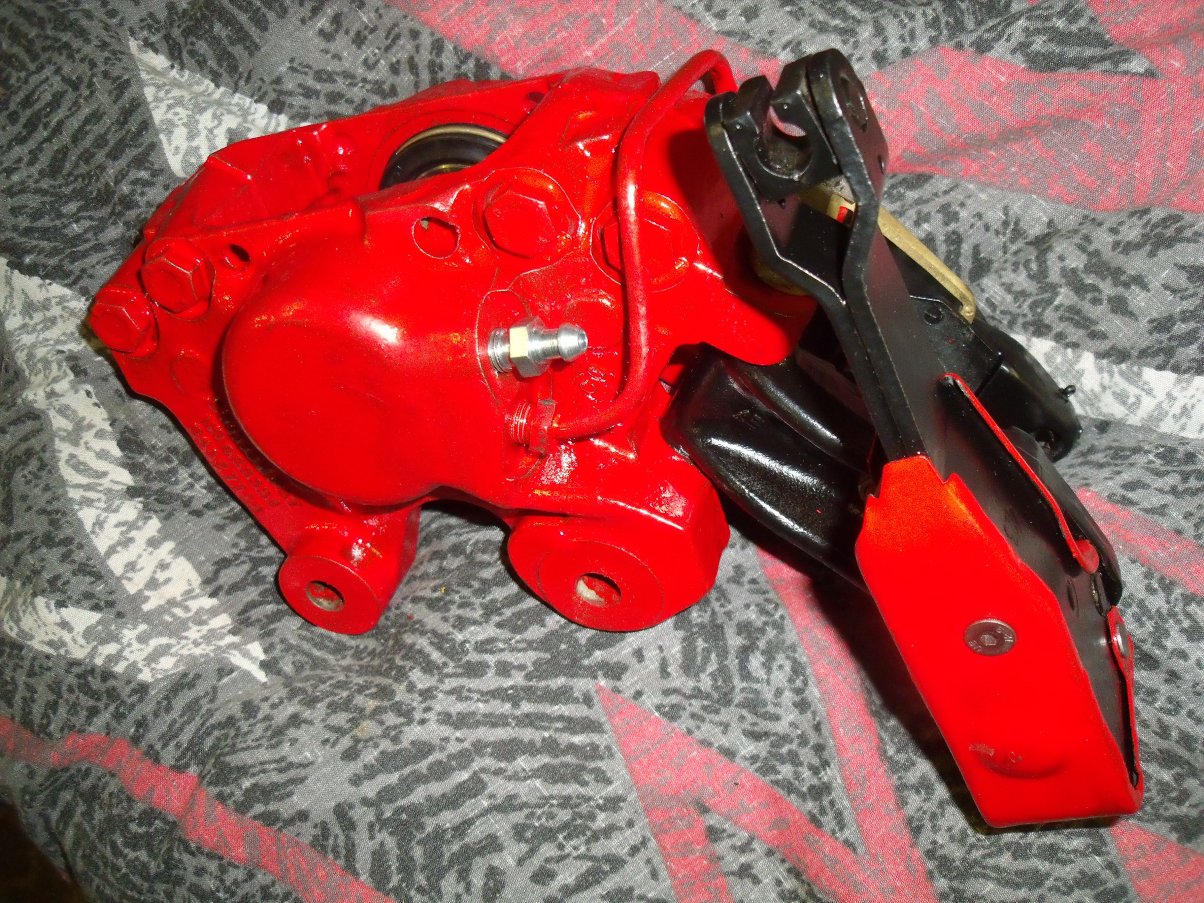
A completed caliper assembly, with new bleed nipple:
The link pipes between the caliper body halves appear to be steel and once blasted were in serviceable condition. I renewed the link pipe between the calipers and the one back to the flexi hose, in CuNiFe pipe. All unions and the bleed nipple are 3/8" x 24 tpi UNF. Previous page Back to Home Next page
|